Learn how to add clients, projects and rates to the portal so that you can raise invoices quickly and record expenses.

How to Add a Client
Step 1: Login
Log into your account (See Logging In – How to Log Into Your Account for more details).
Step 2: Add Client
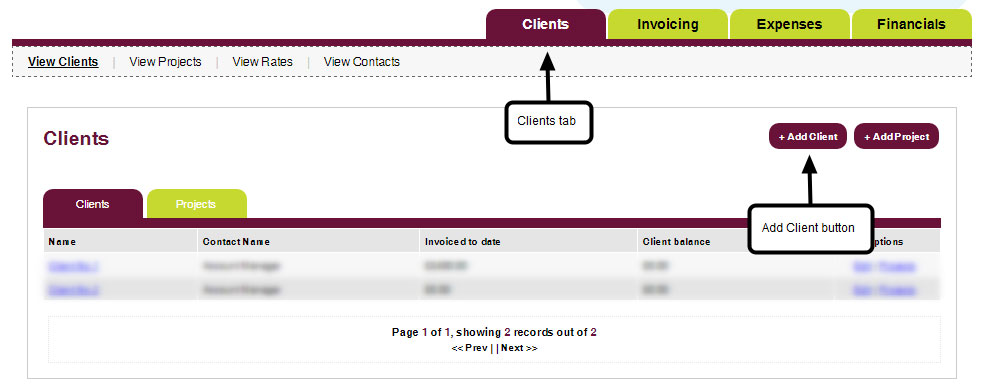
Open the Clients tab and click the Add Client button.
Step 3: Create Client
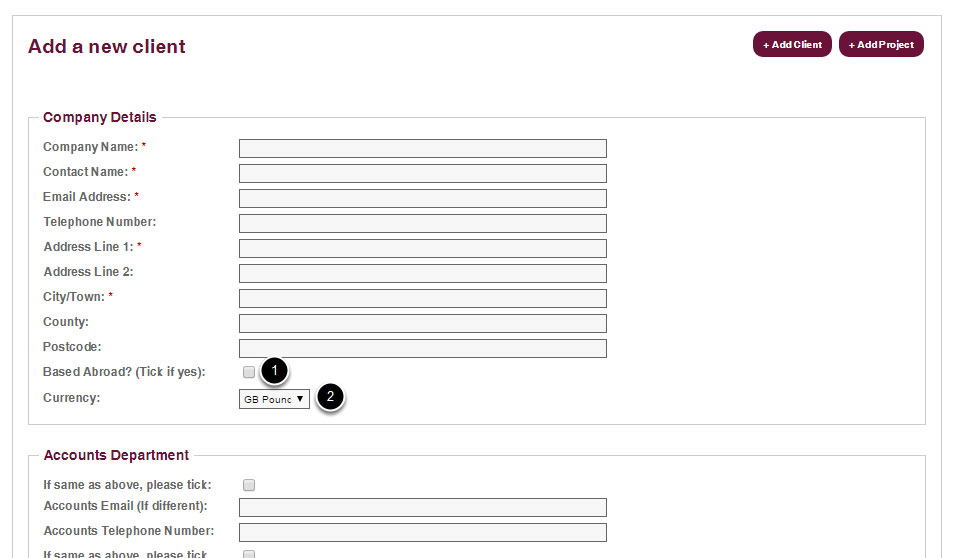
Enter your client’s details into the form.
- If your client is based abroad, please tick this box or your VAT will not be correct.
- Please select the currency your client wishes to be billed in.
NOTE: Fields marked with a * are required.
Step 4: Save Client
Click the Save Client button below the form to save your details.

Step 5: Client Added
The client will display in the Clients table to confirm it has been successfully added to the portal.
- Edit – allows you to amend the client’s details

How to Add a Project
A project is not required, however, some clients find it helpful. It is required for any foreign clients and will be created automatically.
Step 1: Login
Log into your account (See Logging In – How to Log Into Your Account for more details).
Step 2: Add Project
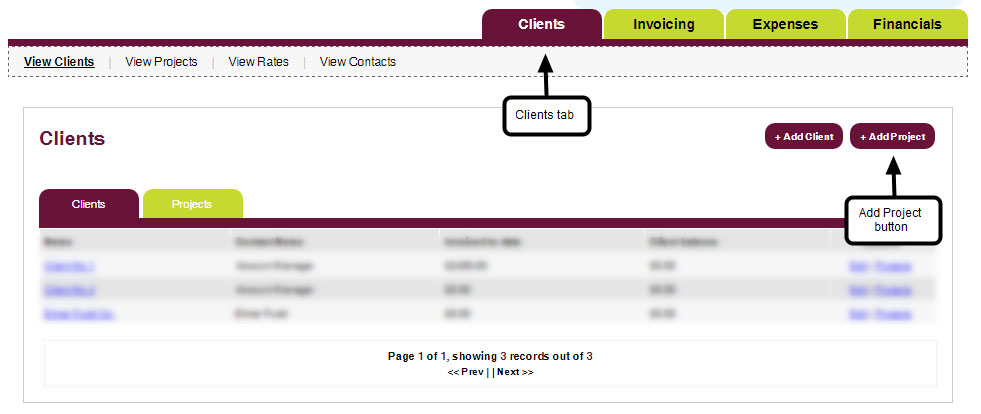
Open the Clients tab and click the Add Project button.
Step 3: Create Project
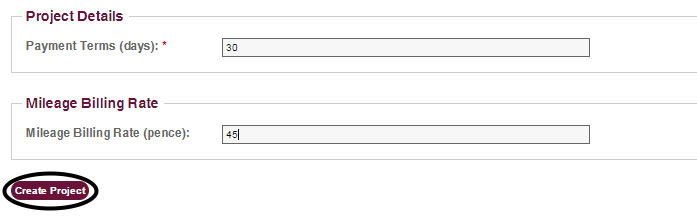
Enter your project details into the form.
- Project start / end dates are for information purposes only and are not compulsory.
- Mileage Billing Rate – the amount in pence that your client has agreed you can bill them. Leave blank if not applicable.
NOTE: Fields marked with a * are required.

Step 4: Save Project
Click the Create Project button below the form to save your details.
Step 5: Project Added
The project will display in the Projects table to confirm it has been successfully added to the portal.
- Edit – allows you to amend the Project details.

How to Add a Rate
Adding rates will make it quicker to raise an invoice if you bill a particular rate regularly.
Step 1: Login
Log into your account (See Logging In – How to Log Into Your Account for more details).
Step 2: Click View Rates
Open the Clients tab and click the View Rates link in the navigation bar.

Step 3: Add Rate
Click the Add Rate button on the right side of the page.

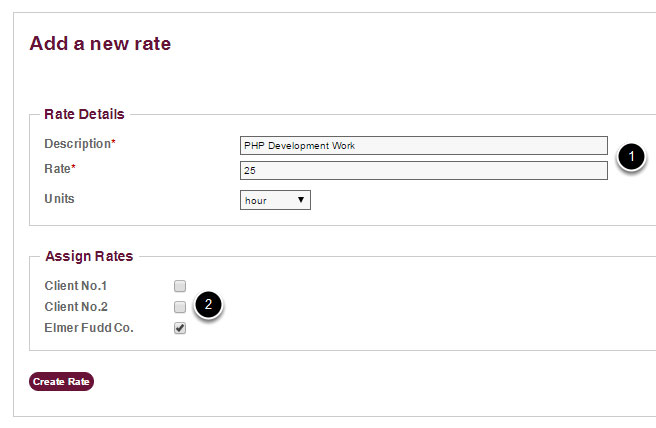
Step 4: Create Rate
Enter your rate details into the form.
- Give your rate a Description, Value and Unit.
- You can assign this rate to as many clients as you wish. If you don’t assign to a particular client, it won’t be available for you to use when raising an invoice to them until you go back to rates and assign it.
NOTE: This will make it quicker to raise an invoice if you bill a standard rate frequently.
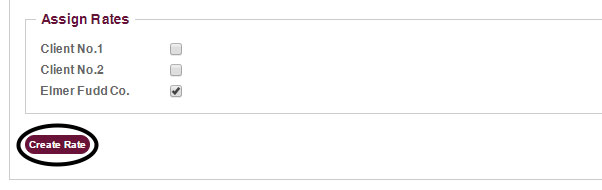
Step 5: Save Rate
Click the Create Rate button below the form to save your details.
Step 6: View Rate
The rate will display in the Rates List table to confirm it has been successfully added to the portal.
- Edit – click this link to amend the rate details

What’s on this page?